Access groups manage project-level permissions. For an overview of
workspace-level roles and their permissions, see Roles and
permissions.
- Limit access to sensitive projects.
- Assign roles like Admin, Member, or Viewer.
- Ensure only the right people can view or edit traces, tests, and results.
How it works
- Access groups are defined per project.
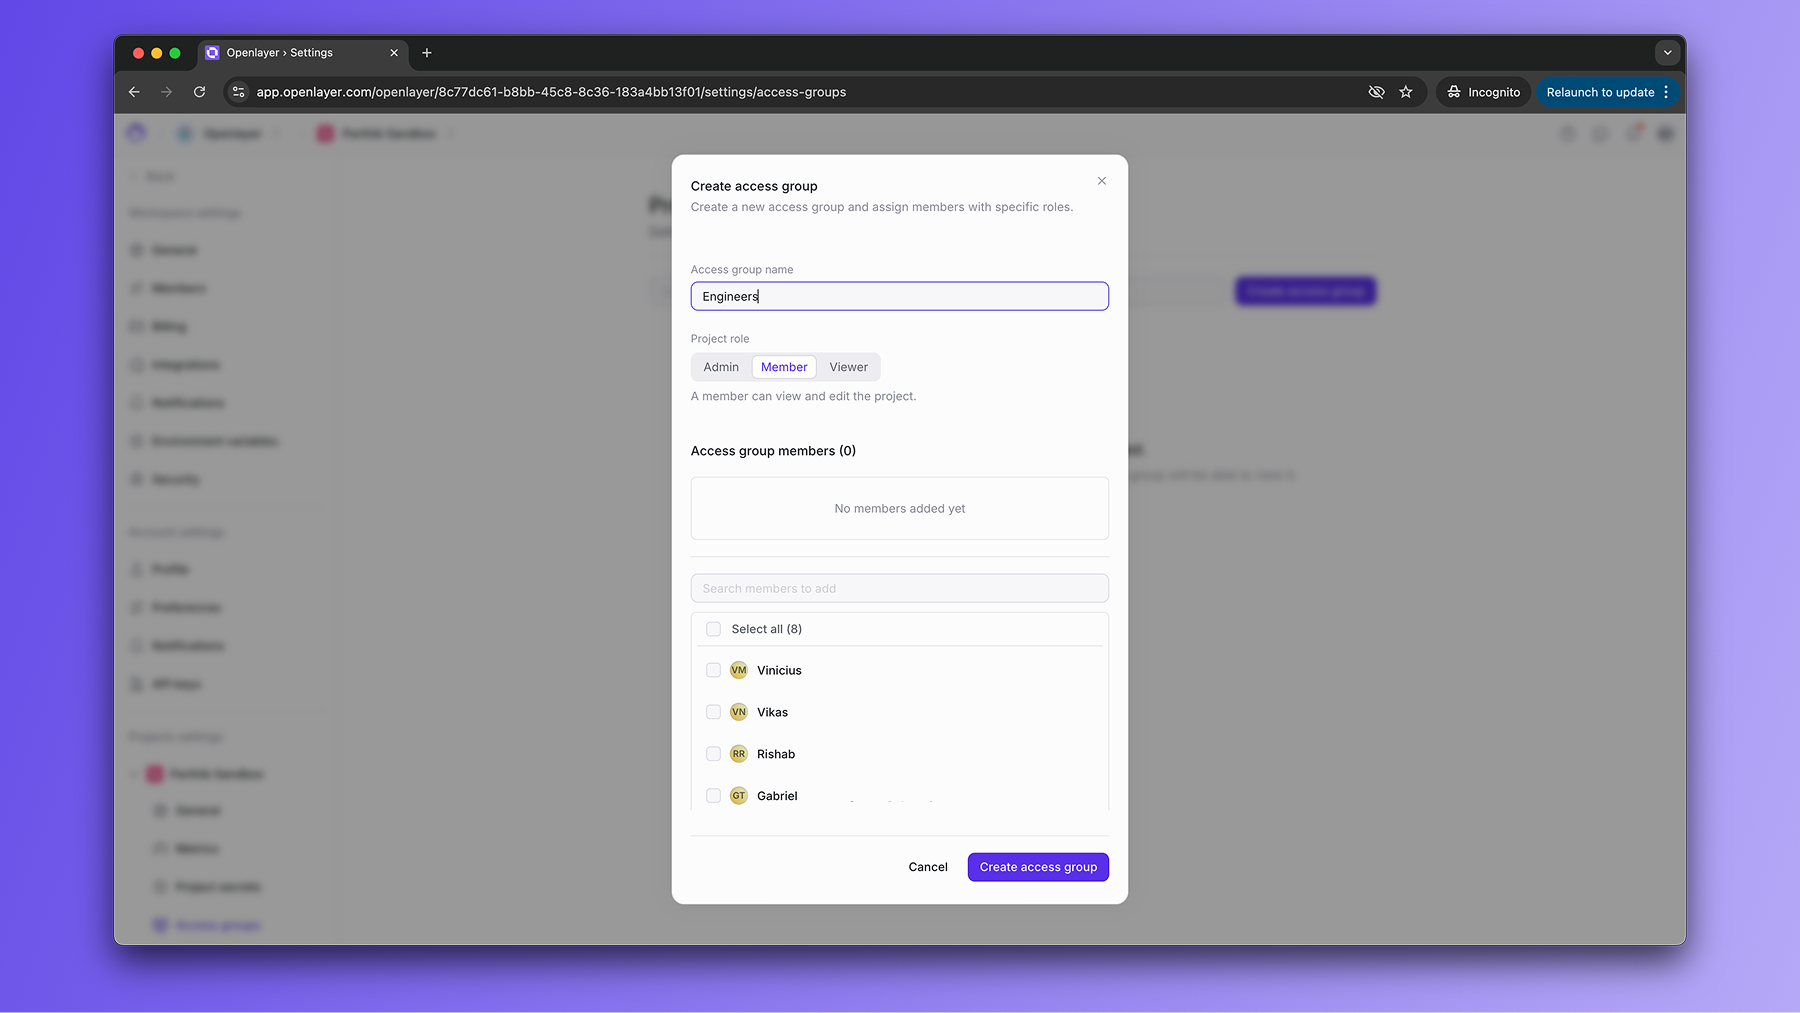
- Each group has:
- A name (to identify the group).
- A role (Admin, Member, or Viewer).
- A list of members (users in your organization).
| Role | Permissions |
|---|---|
| Admin | Full control: manage access groups, edit project settings, create/edit data |
| Member | View and edit project data (but not manage access groups) |
| Viewer | Read-only access to project data and results |
Create an access group
You can create and manage groups directly from the project settings.Open project settings
In your Project settings, select the project you want to manage access
groups for and click on Access groups.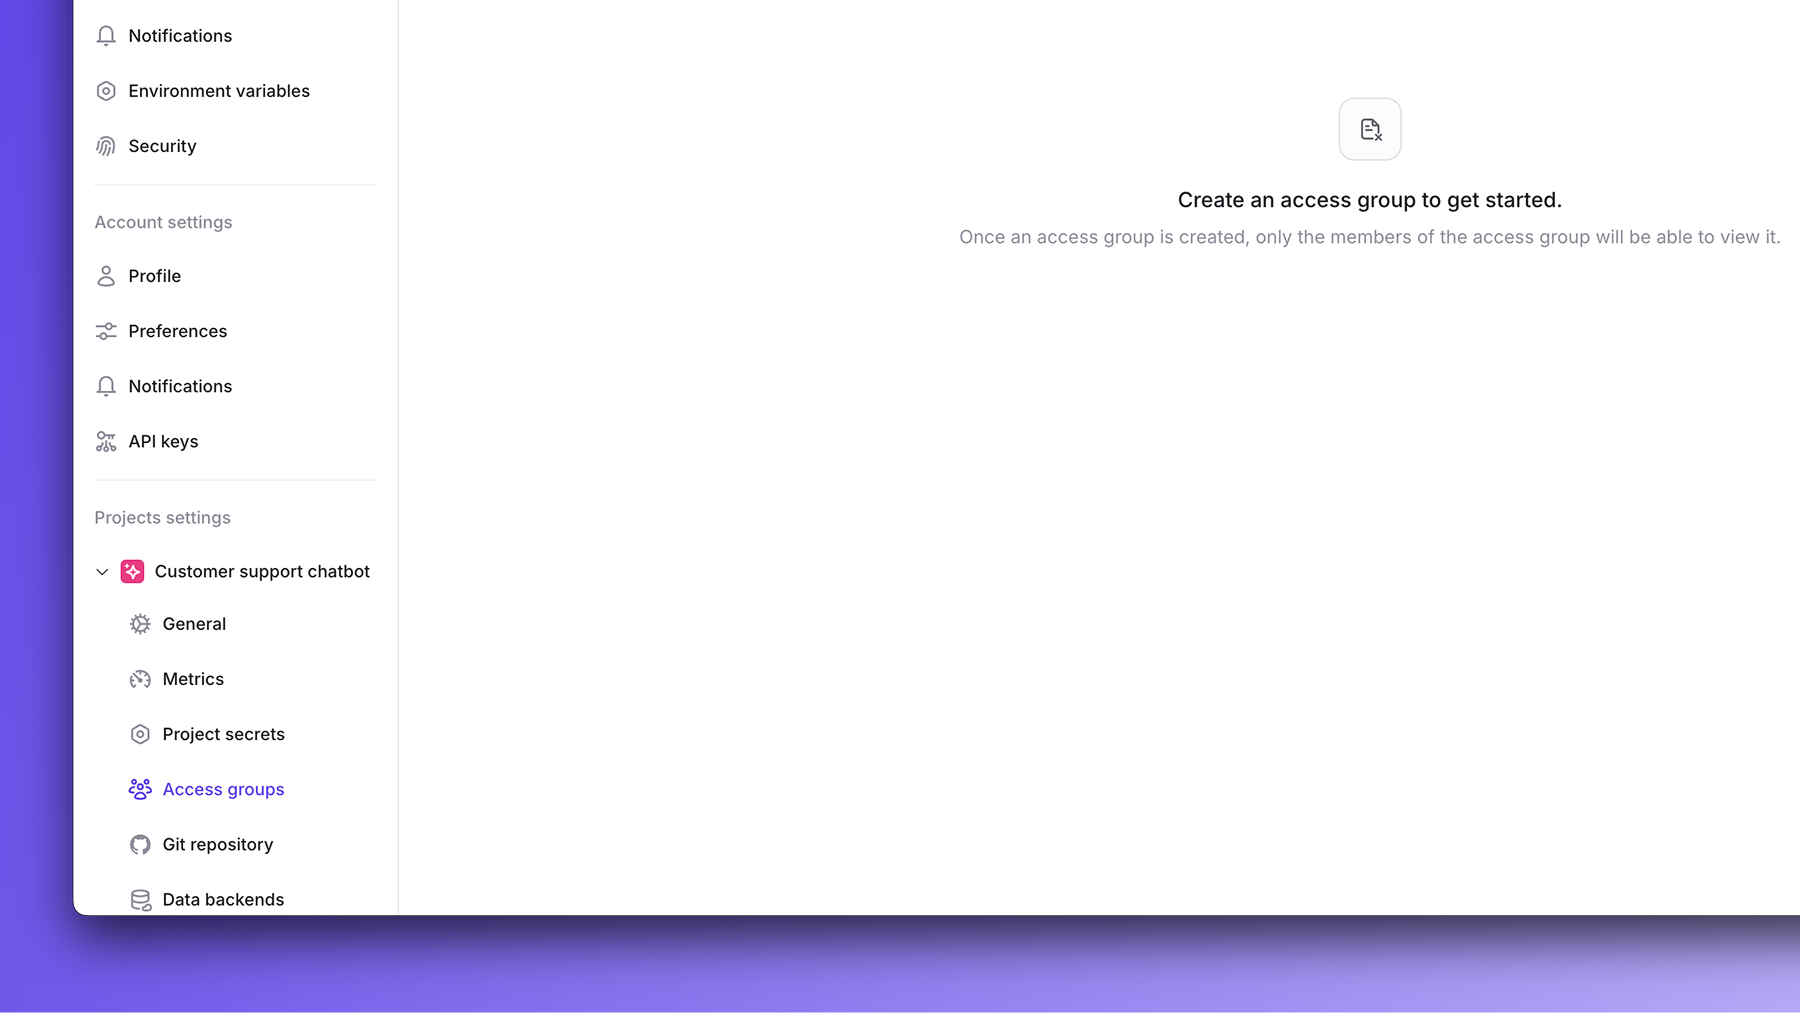
Editing and removing groups
- To edit a group, select it from the list, then update its role or membership.
- To remove a group, click the delete icon next to it.
Best practices
- Use Admin groups sparingly: reserve for team leads or project owners.
- Create Member groups per function (e.g., “Evaluation team”, “Data science team”).
- Add external collaborators as Viewers to safely share results.
FAQ
Can a user belong to multiple groups in a project?
Can a user belong to multiple groups in a project?
Yes. If a user belongs to multiple groups, the most permissive role applies.
For example, if they are both a Viewer and a Member, they will have Member
permissions.
Are access groups global or per project?
Are access groups global or per project?
Access groups are per project. You can define different groups for each
project.
Do I need to create access groups for every project?
Do I need to create access groups for every project?
No. By default, all workspace members have access. Access groups are only
needed when you want to restrict access.