
How it works
The data path is Dialogflow → Cloud Logging → BigQuery → Openlayer:- Your Dialogflow CX agent writes runtime logs to Cloud Logging.
- A Cloud Logging sink streams those logs into a BigQuery dataset in your GCP project.
- Openlayer reads from that dataset on your behalf using a service account you provide.
- Discovers your agents: finds every Dialogflow CX agent that has logs in the configured dataset.
- Creates projects and data sources: each agent gets its own Openlayer project and data source, with no manual setup required.
- Syncs interactions: periodically (every 15 minutes) pulls new conversation traces and deduplicates against existing rows.
- Enriches traces: extracts LLM models, token counts, prompts, and RAG context so quality metrics work out of the box.
All access is read-only. Openlayer queries BigQuery and never writes to
your GCP project. The service account you provide only needs read access to a
single dataset.
Prerequisites
Three pieces of GCP setup, all in the same project as your Dialogflow CX agent.1. Enable agent logging
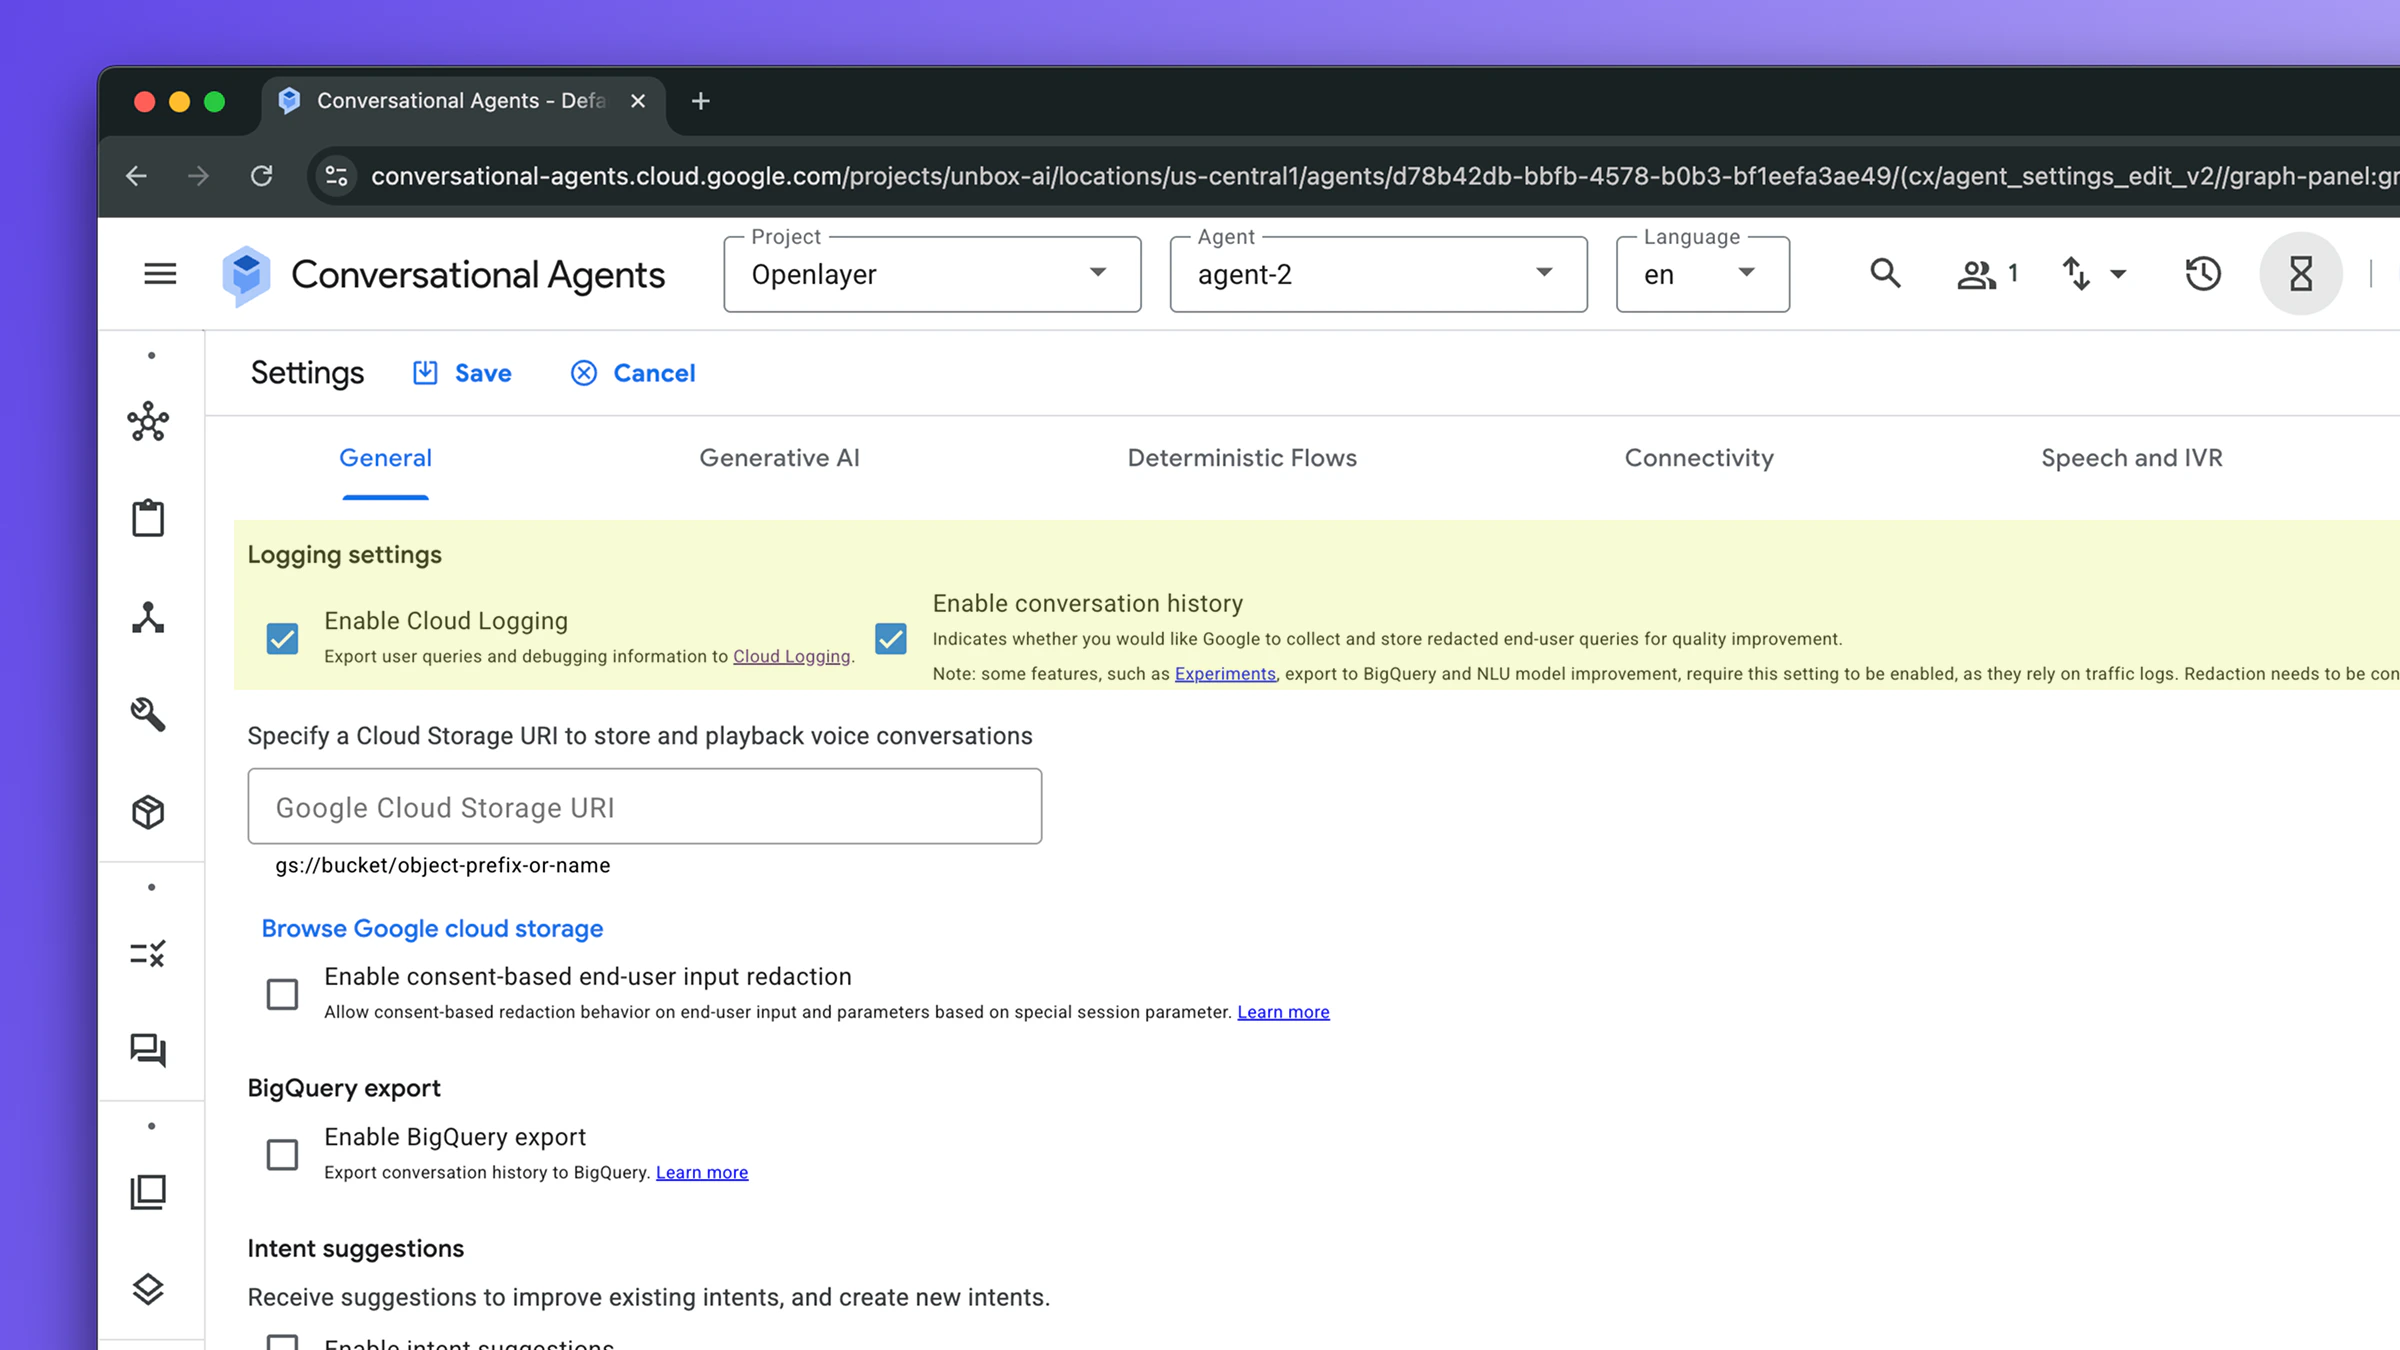
Dialogflow CX produces runtime logs only when logging is explicitly enabled on the agent. In the Dialogflow CX console:- Open your agent.
- Click the gear icon → Agent settings → Logging tab.
- Enable both:
- Cloud Logging (
enableStackdriverLogging): sends logs to Cloud Logging - Conversation history (
enableInteractionLogging): includes the conversation content (without this, message text is stripped)
- Cloud Logging (
- Click Save.
2. Create a Cloud Logging sink to BigQuery
A Cloud Logging sink streams matching log entries into a BigQuery dataset in real time. Openlayer reads from that dataset.Step-by-step: create the dataset and sink
Step-by-step: create the dataset and sink
Replace
PROJECT_ID and DATASET with your values throughout.The sink does not create the destination table until the first matching log
arrives. Right after running these commands the dataset will be empty. Send
a message to your agent (e.g. via the Test Agent simulator in the Dialogflow
console) and wait 1-2 minutes for the table to appear.
dialogflow-runtime.googleapis.com/requests the table is:
3. Create a service account with read access
Openlayer authenticates as a service account that you create and own. The required BigQuery IAM roles are:| Role | Scope | Purpose |
|---|---|---|
roles/bigquery.jobUser | Project | Run BigQuery queries |
roles/bigquery.dataViewer | Dataset | Read the Dialogflow logs table |
Step-by-step: create the service account and key
Step-by-step: create the service account and key
Setup guide
Step 1: Navigate to the integration
In your Openlayer workspace, go to Settings → Integrations and find the Dialogflow CX card. Click Enable.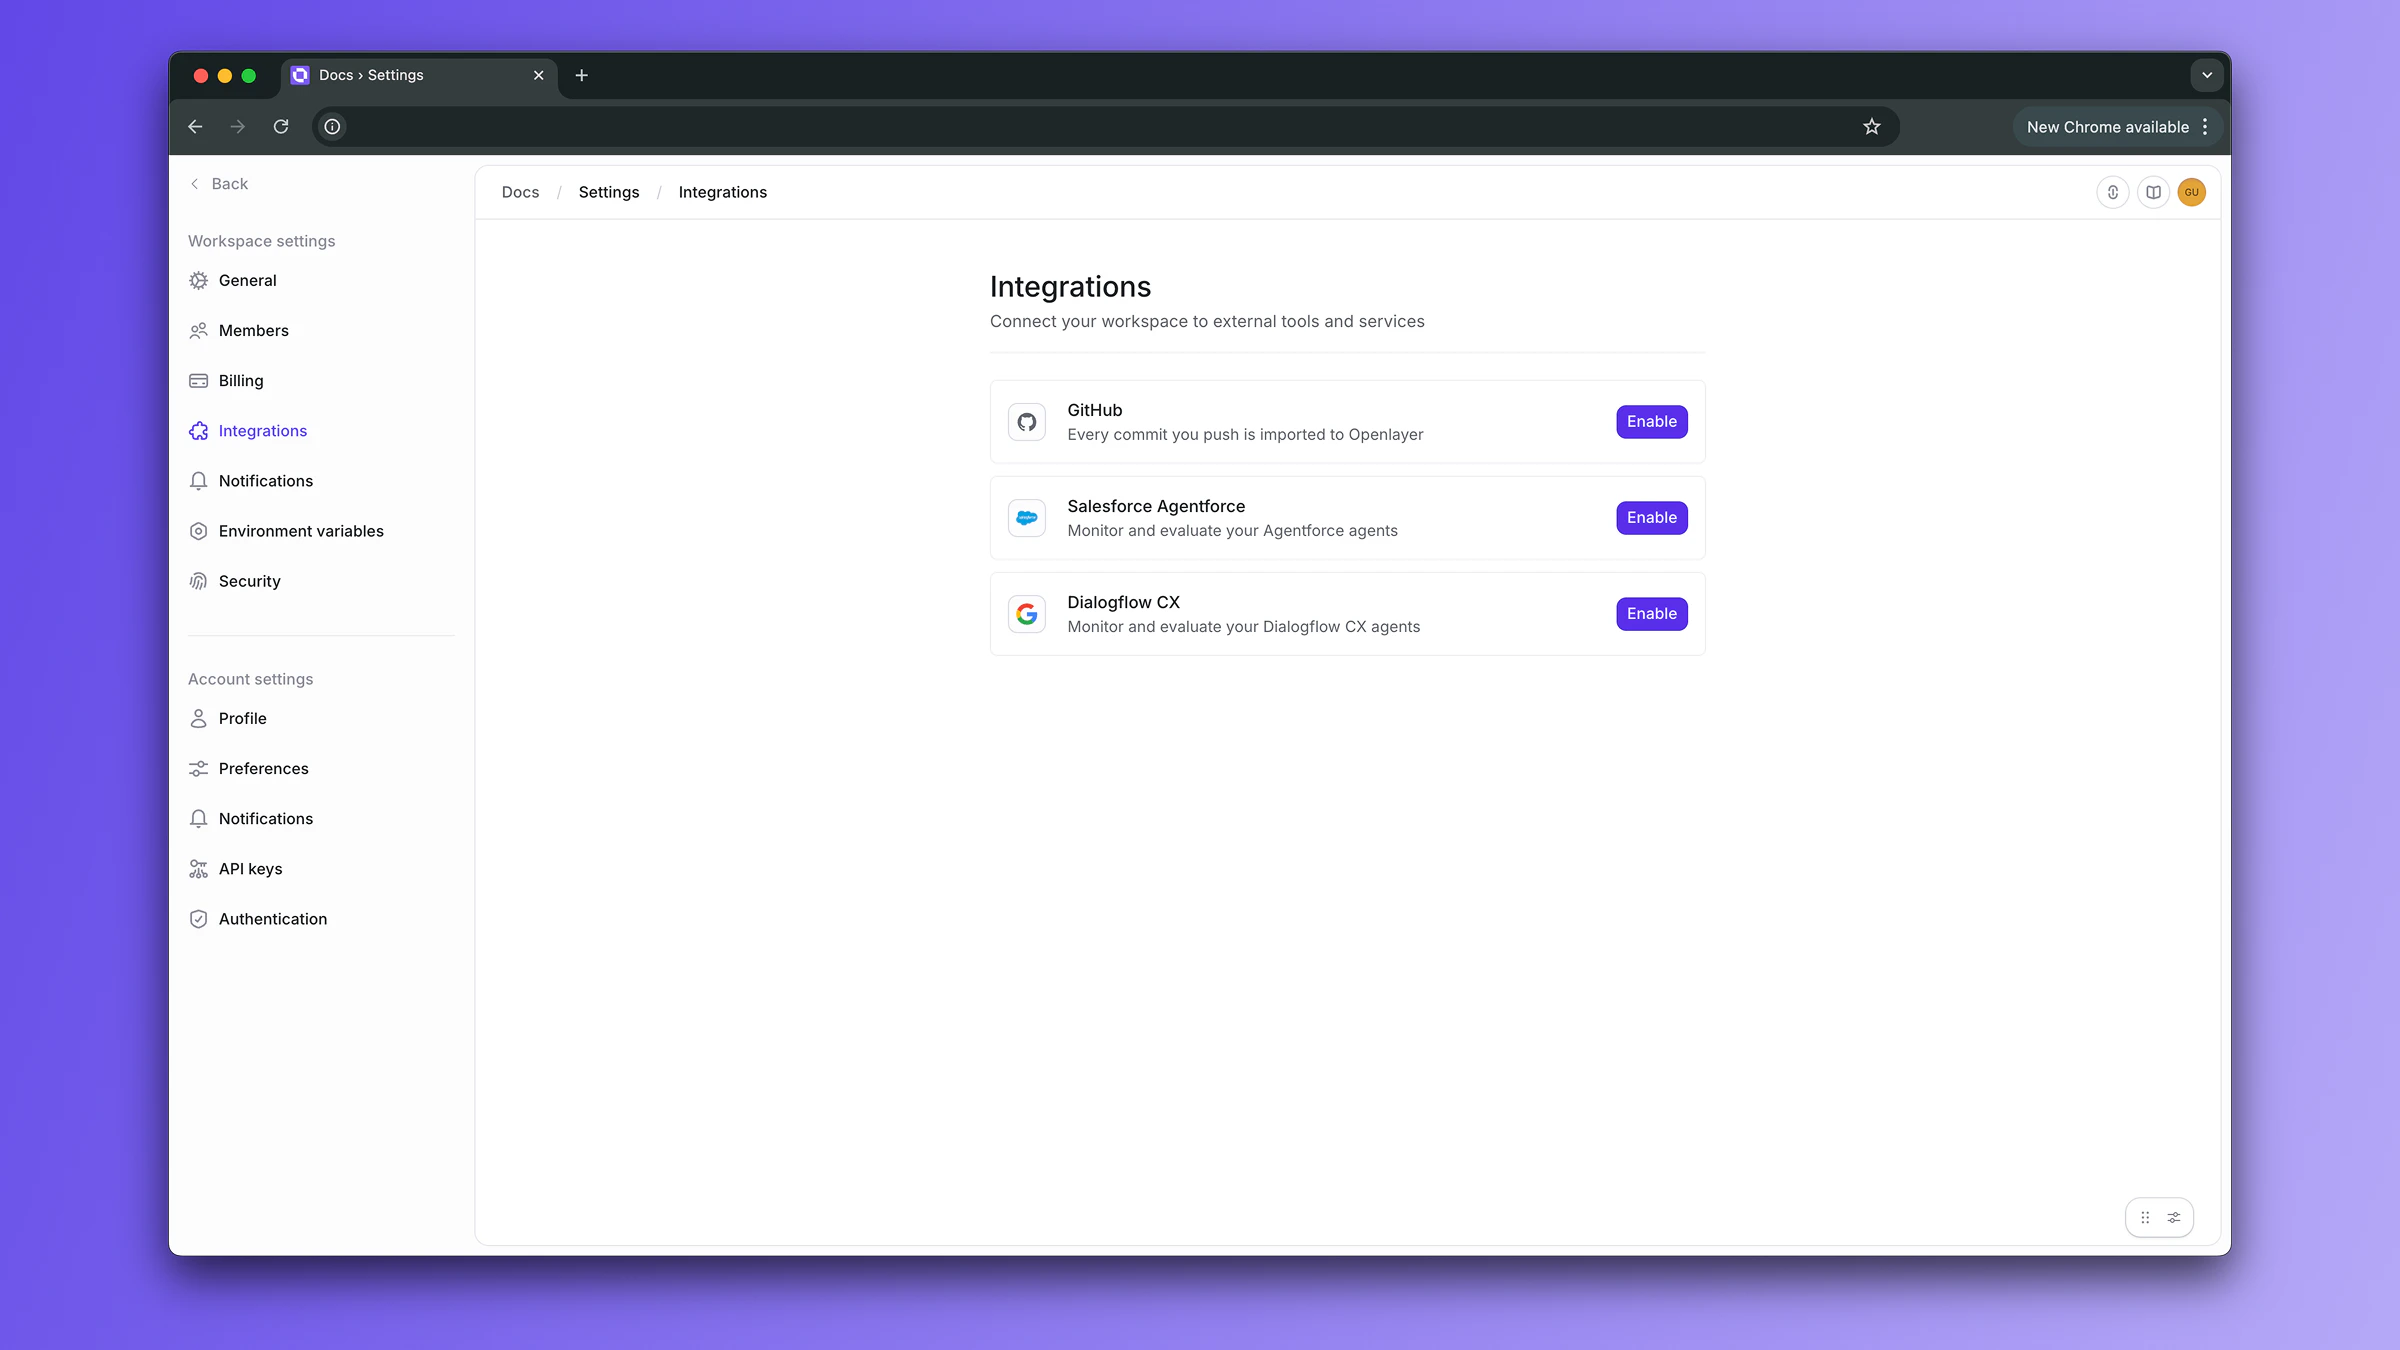
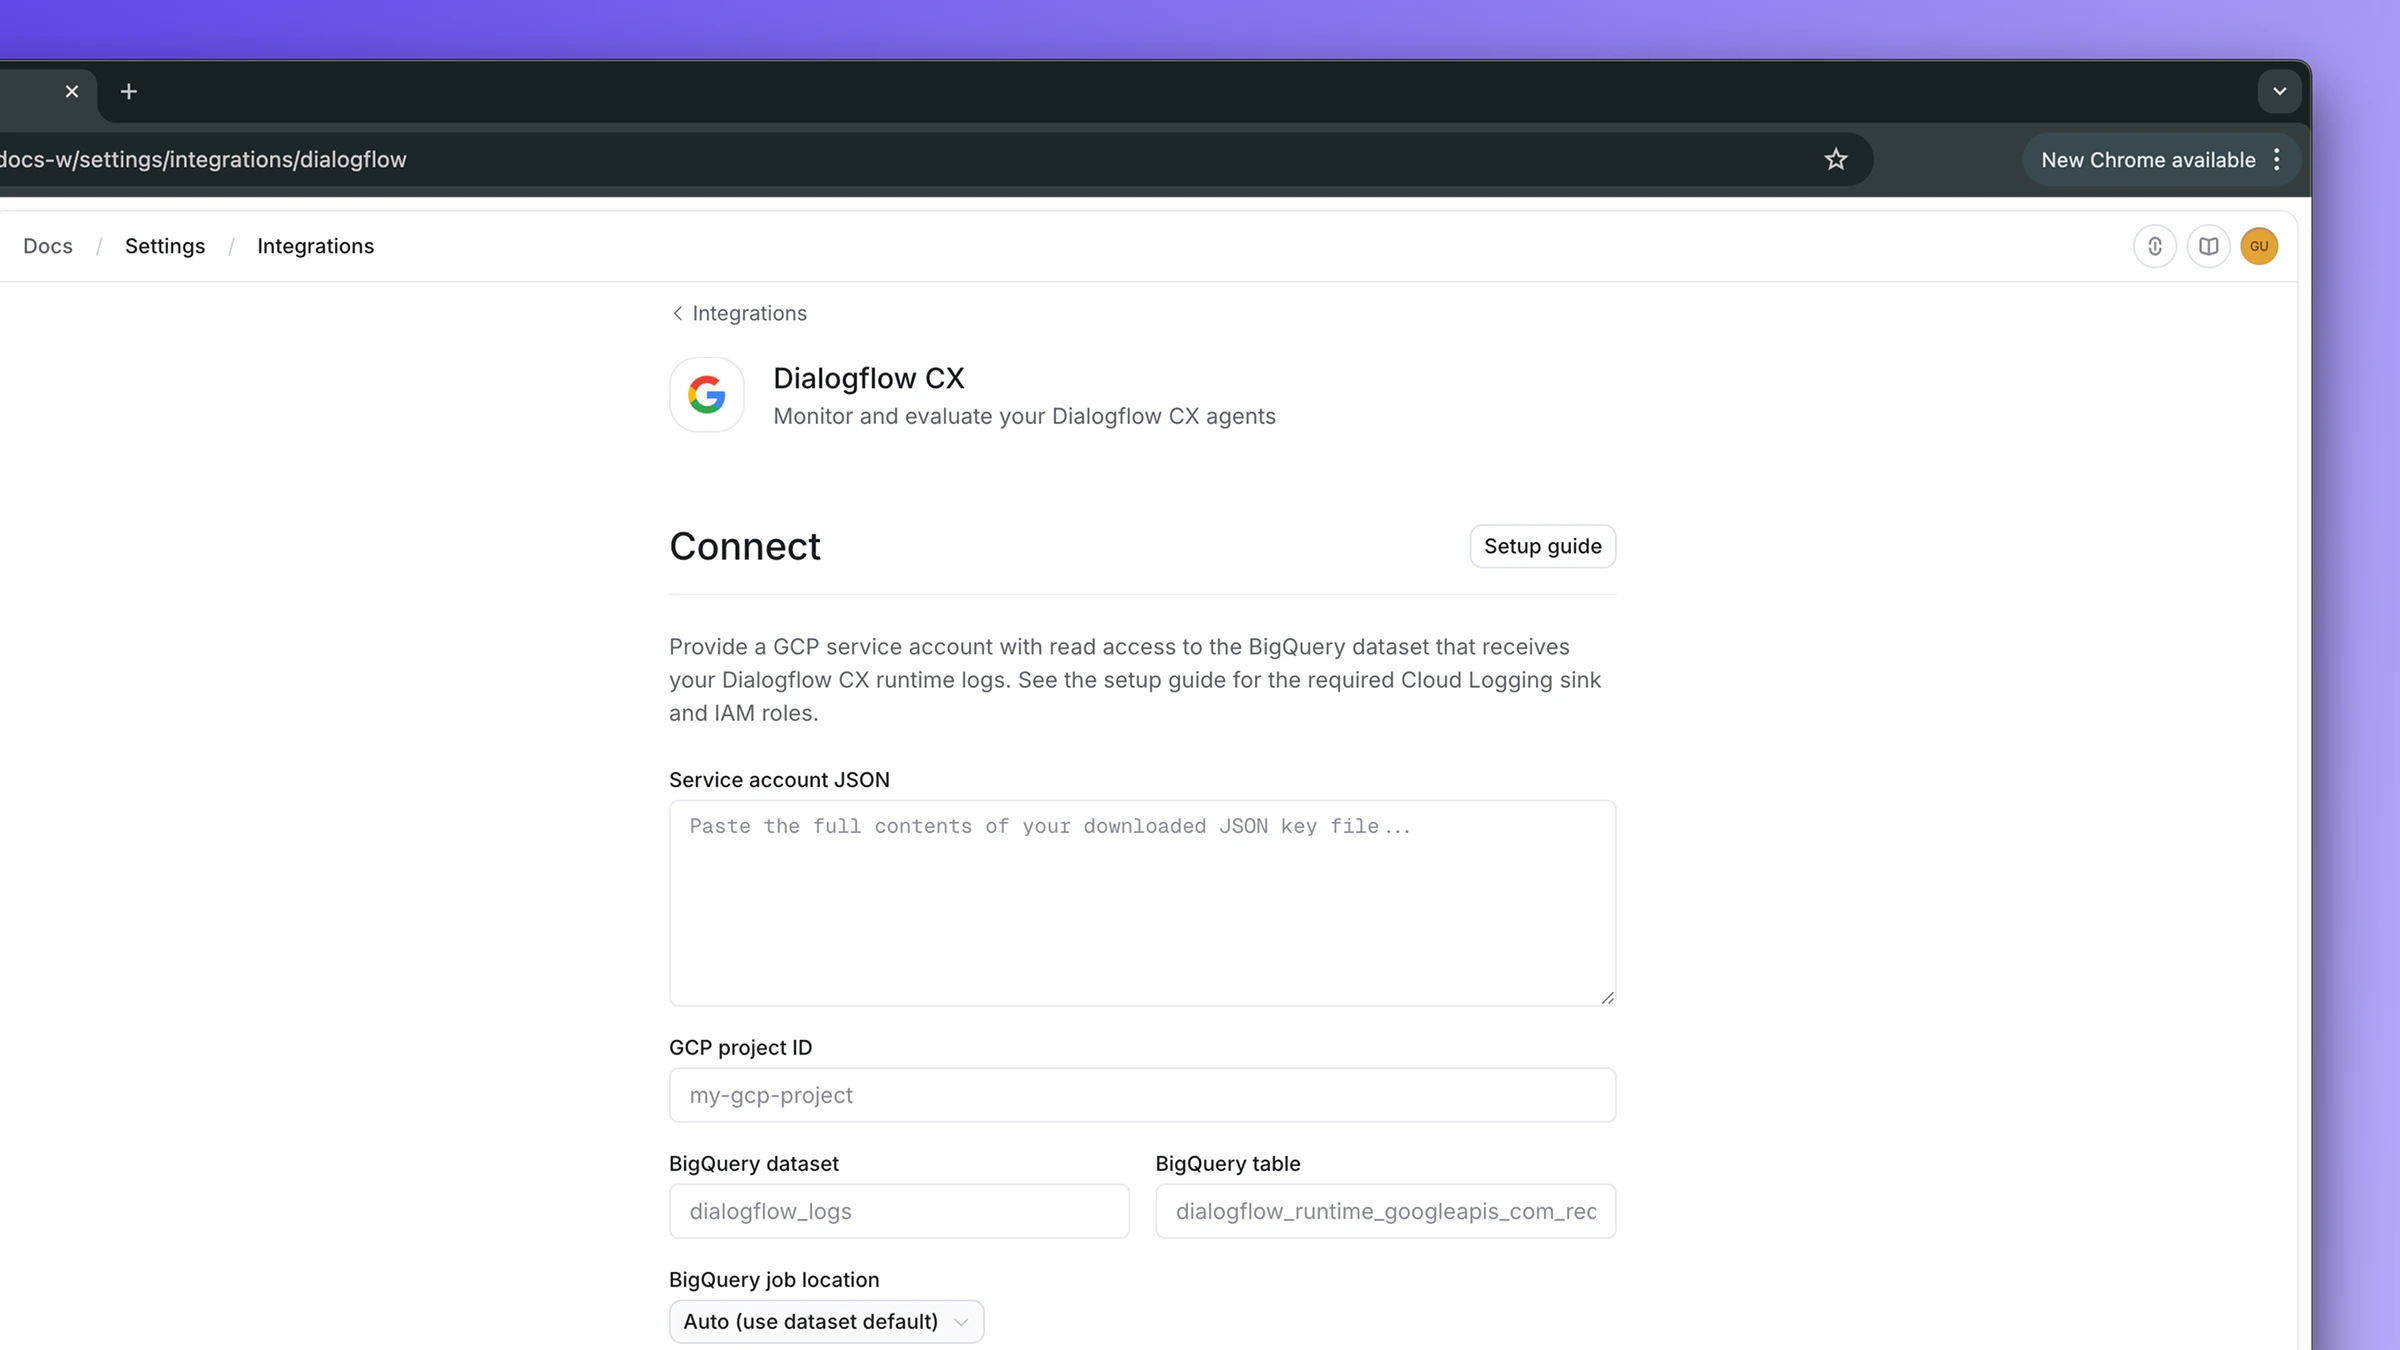
Step 2: Provide your credentials
Fill in the connect form using the values from the prerequisites:- Service account JSON: paste the entire contents of
openlayer-key.json - GCP project ID: the project hosting your BigQuery dataset
- BigQuery dataset: e.g.
dialogflow_logs - BigQuery table:
dialogflow_runtime_googleapis_com_requests - BigQuery job location:
USorEU(match your dataset’s location) - Parameter allowlist (optional): see PII control
Step 3: Test the connection
Before saving, click Test connection. Openlayer verifies that your service account can read the configured table. On success you’ll see the service account email confirmed inline. If it fails, common causes are:- Table not found: the sink has not created the table yet. Send a message via the Test Agent simulator in Dialogflow and wait 1-2 minutes.
- Permission denied: IAM bindings have not propagated. Wait 30 seconds and retry, or re-run the dataset binding step.
- Invalid JSON: the service account JSON paste was incomplete or malformed.
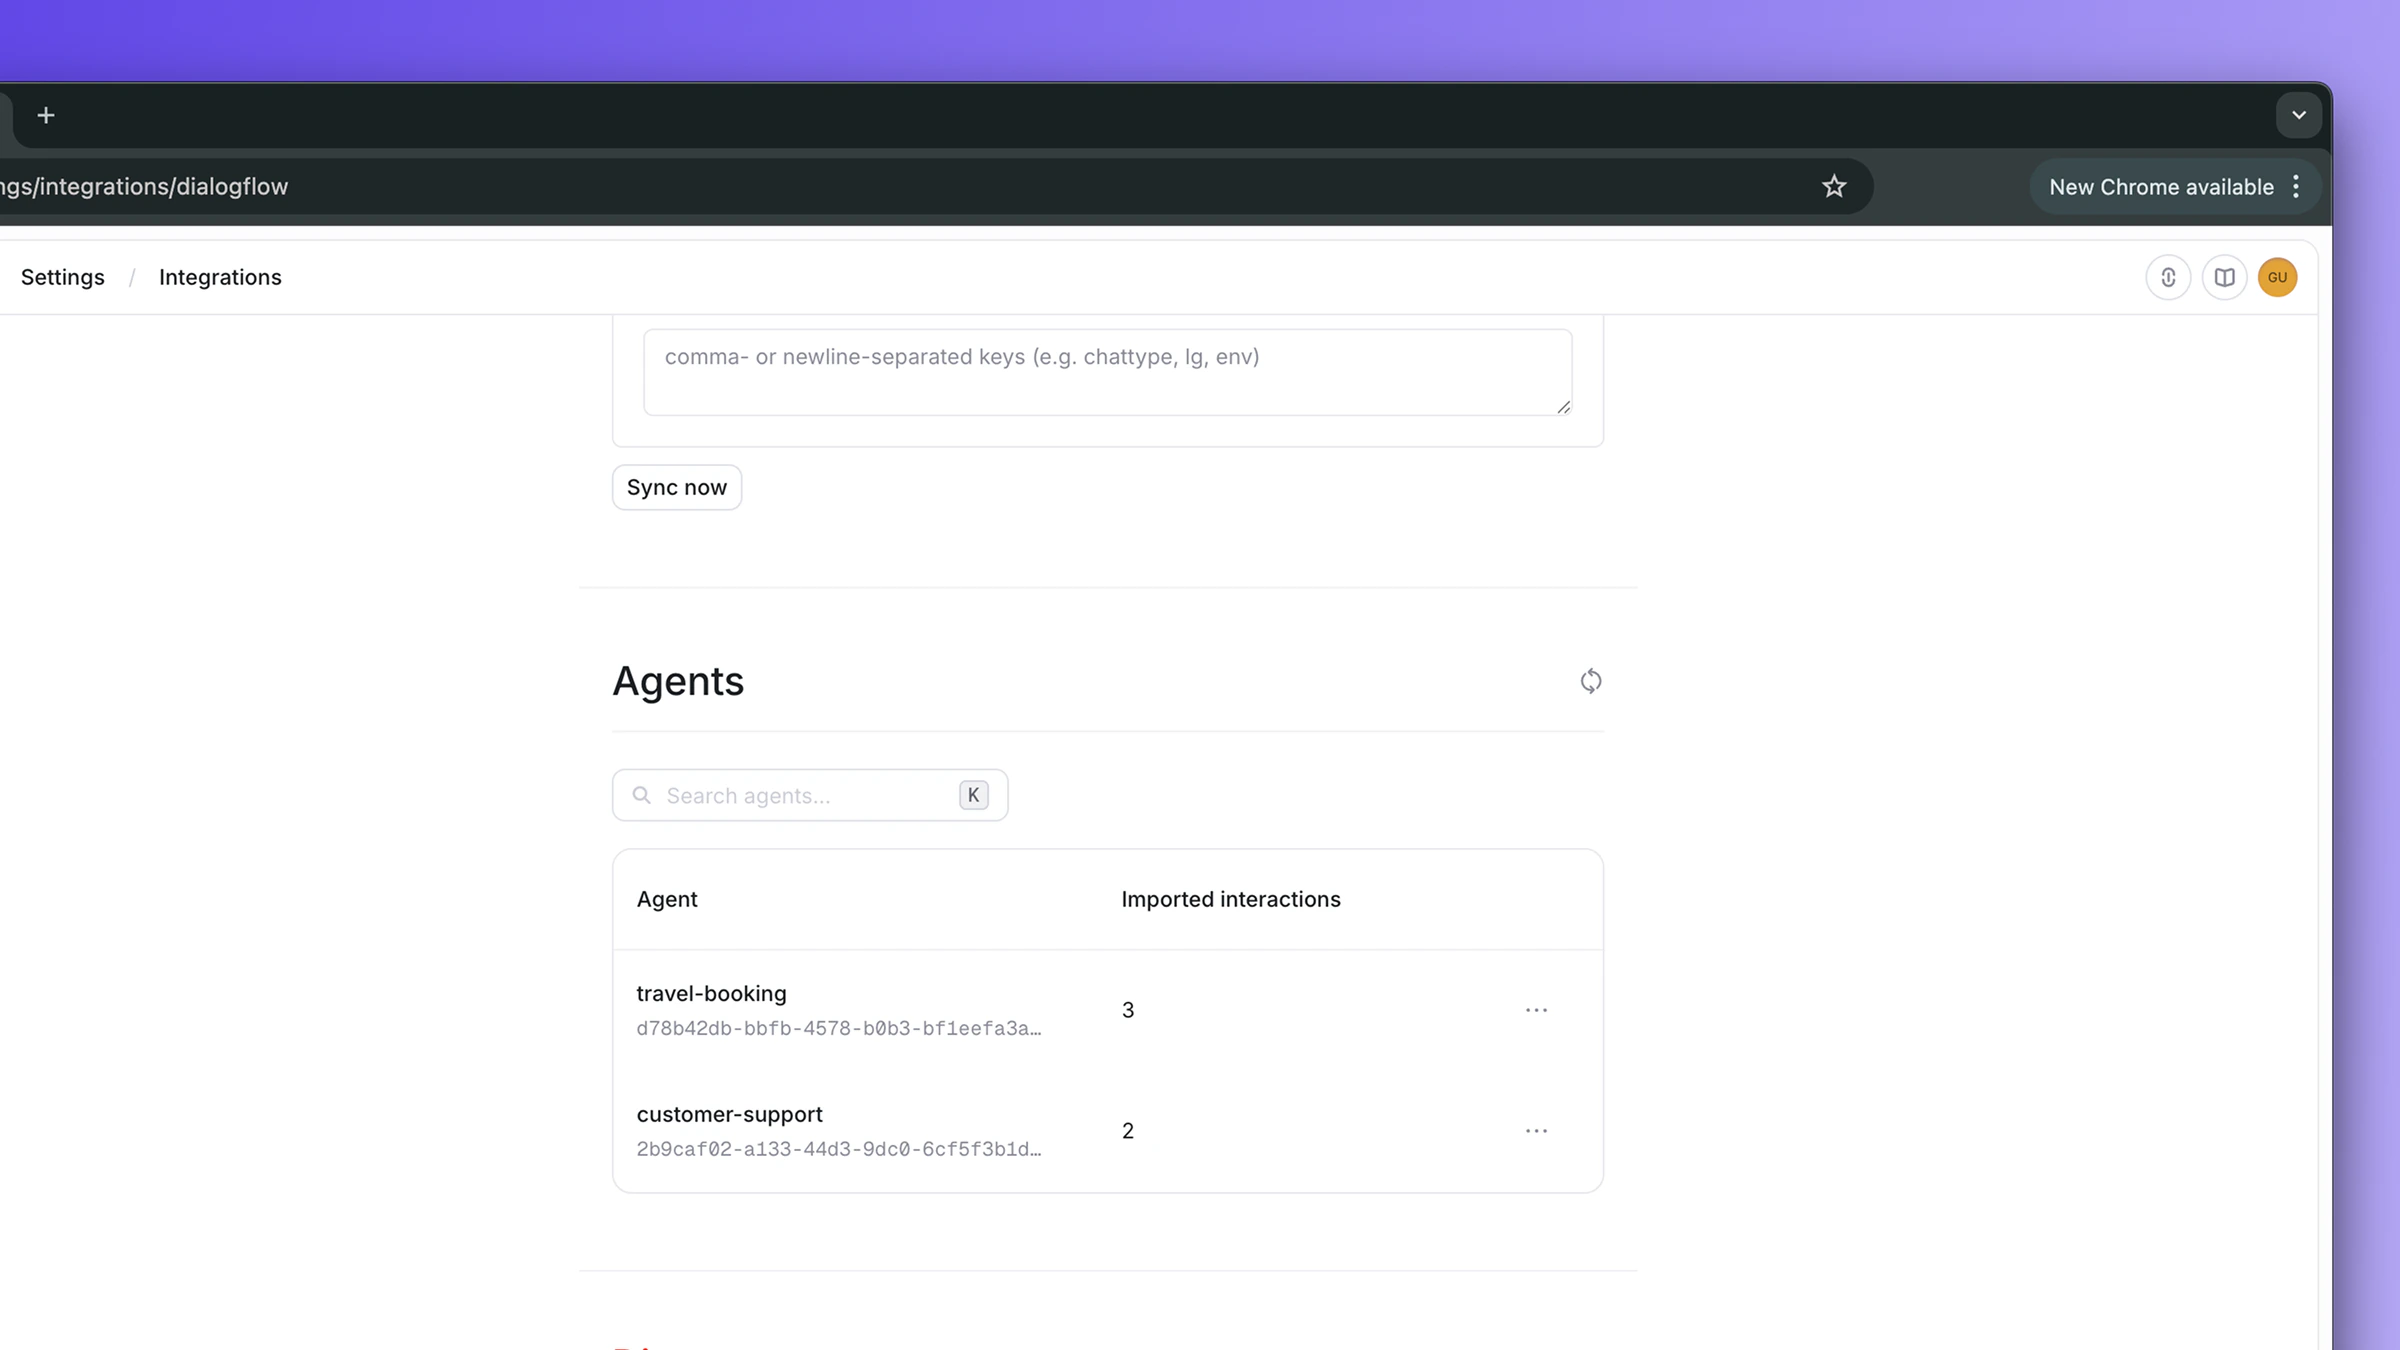
Step 4: Connect and discover agents
Click Connect. Openlayer immediately discovers every Dialogflow CX agent that has logs in the dataset. They appear in the Agents section identified by their agent ID.Step 5: Configure sync settings
Once connected, configure automatic syncing:- Periodic sync: toggle on to enable automatic syncing every 15 minutes
- Initial sync range: how far back to read on the first sync of a newly enabled agent
- Parameter allowlist: see PII control
Step 6: Enable agents
Under the Agents section, click Enable on each agent you want to monitor. The Enable dialog lets you set a display name (Dialogflow CX runtime logs only carry agent UUIDs, so this is the cleanest place to give the agent a friendly label in Openlayer) and choose between Create new project (default) or Map to existing project. When you click Enable, Openlayer:- Creates a new project named
Dialogflow - <display name> - Creates a default inference pipeline and links it to the agent
- Queues an immediate sync so data starts flowing
Initial interactions may take 1-2 minutes to appear after enabling. Cloud
Logging takes a few minutes to export new logs to BigQuery.
PII control for queryParams.parameters
Dialogflow CX request logs contain the fullqueryParams.parameters object, a free-form bag of keys and values that often holds personally identifiable information (email, name, IP address, customer IDs, internal session tokens, etc).
By default, Openlayer drops every key in queryParams.parameters. To allow specific keys into trace metadata, list them in the Parameter allowlist field on either the connect form or the Settings panel:
Monitoring in Openlayer
Once agents are enabled and the first sync completes, conversations automatically appear in their respective Openlayer projects.Conversation traces
Each Dialogflow CX interaction is converted into a trace that captures the user query, the agent’s response, latency, and the full execution tree: LLM calls, knowledge-base retrievals, webhook tool calls, and intent or playbook orchestration.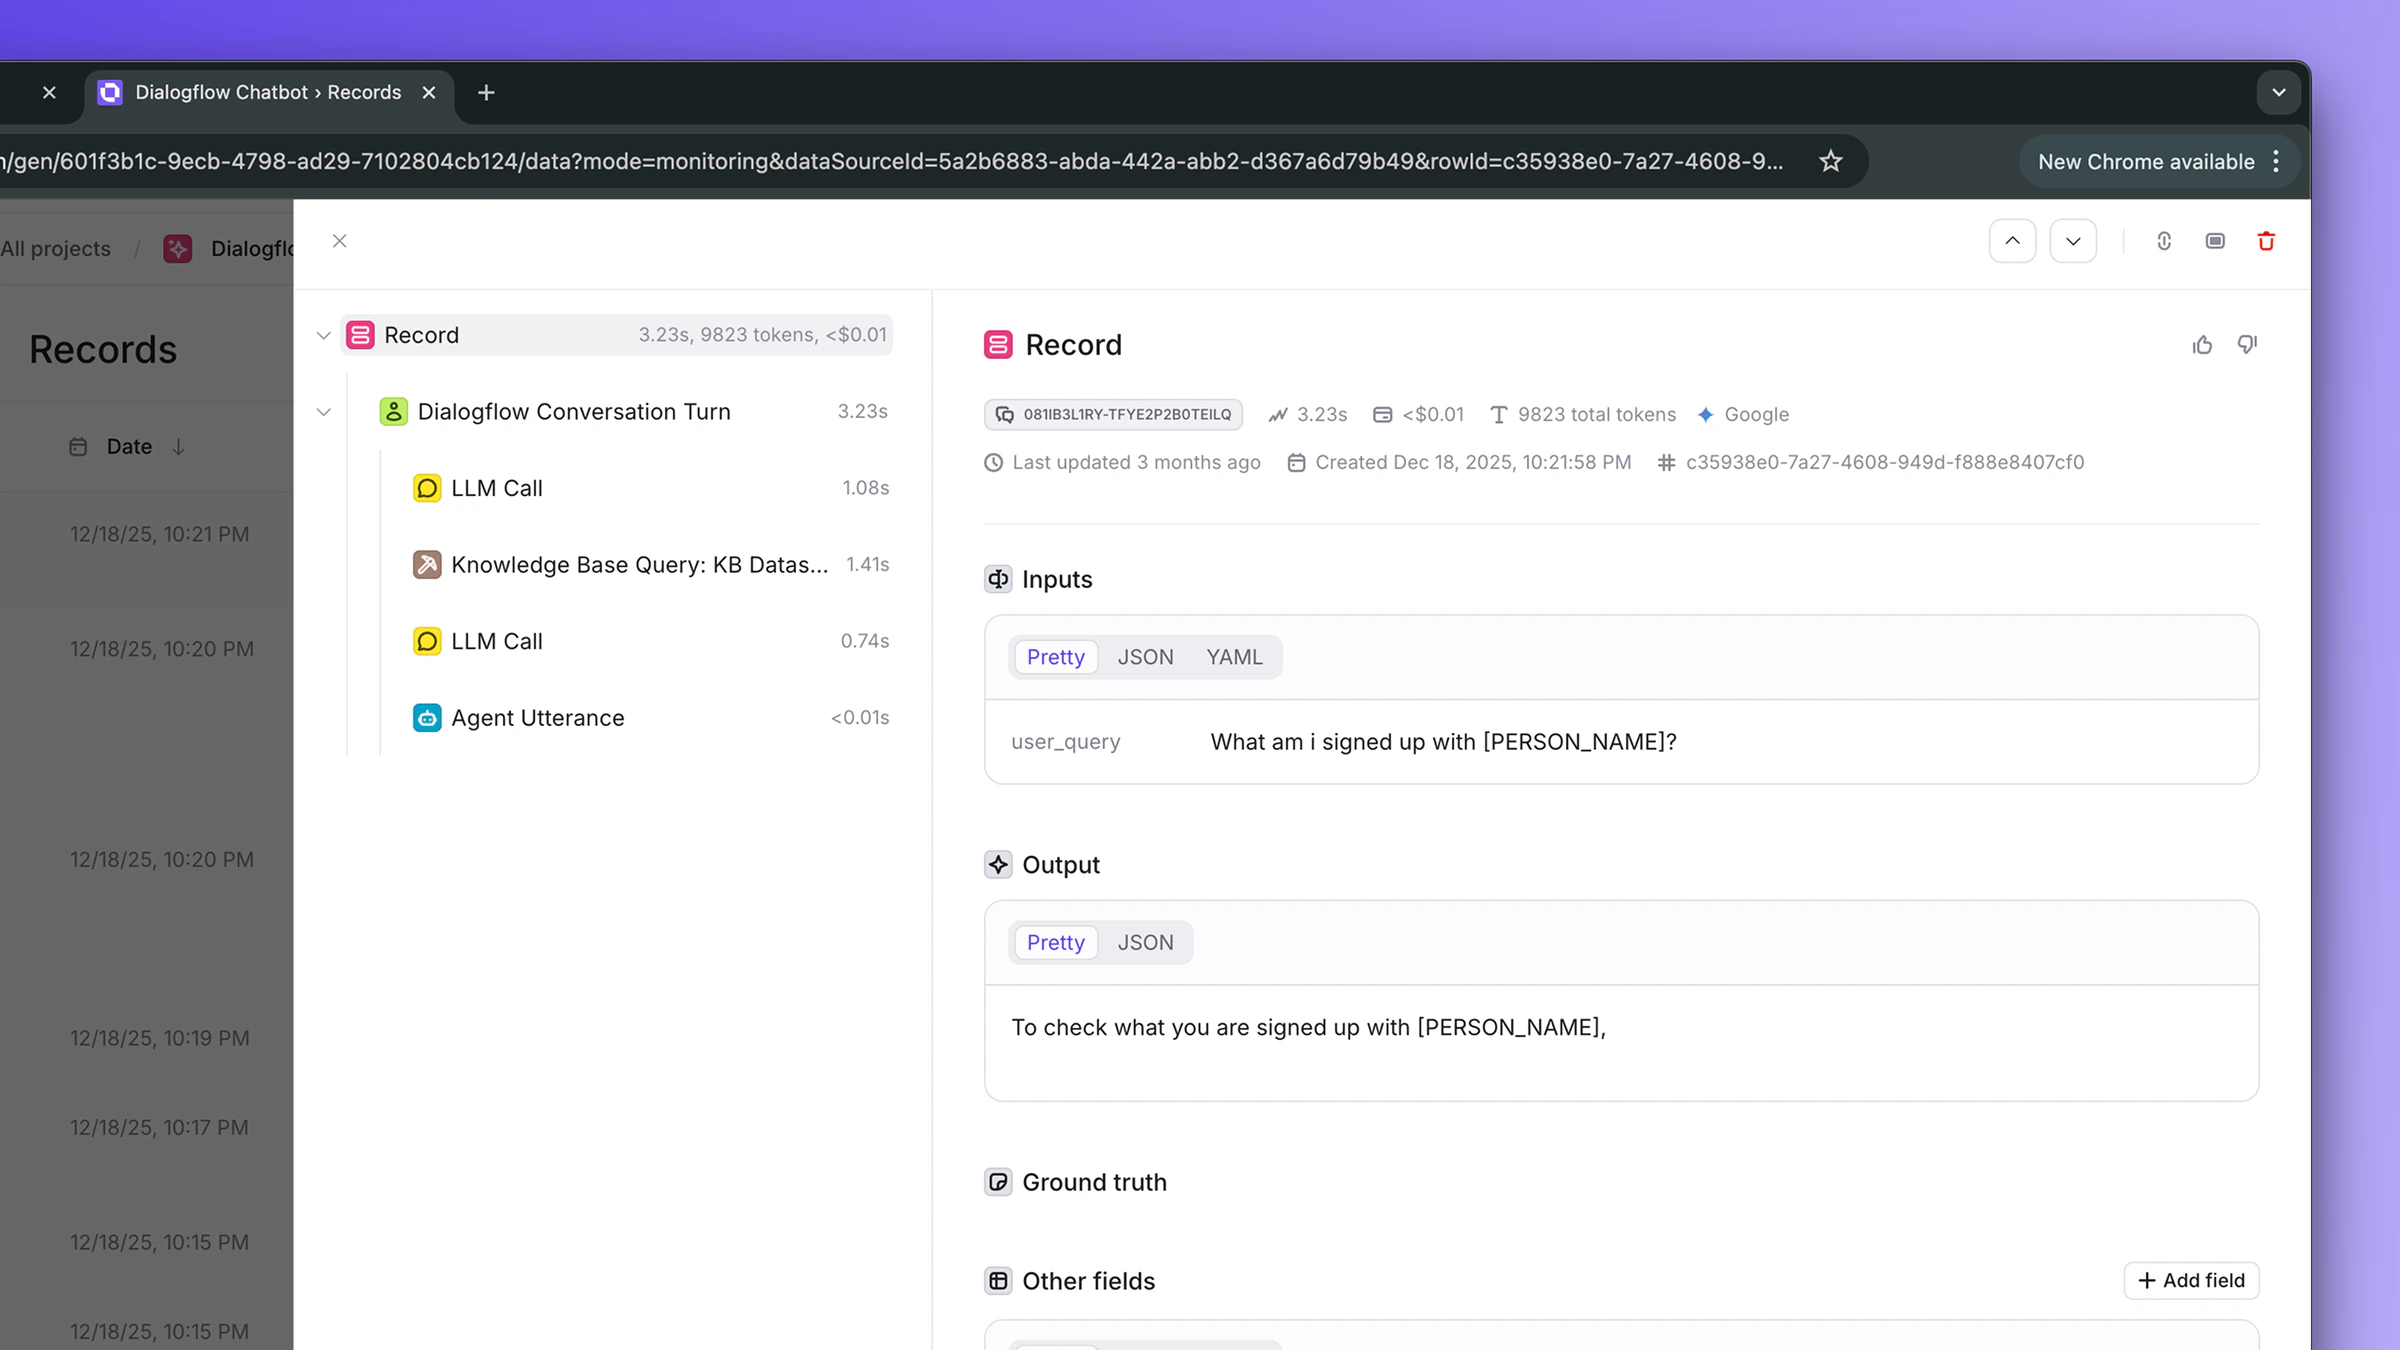
Backfill historical data
To import interactions that occurred before the integration was connected (or before an agent was enabled), click Backfill in the agent’s options menu. In the dialog, choose:- All available history: re-fetch every interaction the dataset still retains
- Custom start date: fetch interactions from a specific date forward
Backfill is bounded by your BigQuery dataset’s retention. If you need to pull
data from before the dataset existed, that data simply isn’t there to pull.
Cloud Logging→BigQuery export only starts once the sink is created.
Run evaluations
With interactions flowing into Openlayer, you can:- Create tests to score response quality
- Detect hallucinations and measure faithfulness against retrieved RAG context
- Track safety and compliance metrics
- Monitor latency and token-usage trends
- Compare agent performance across versions
Disconnecting
To disconnect the Dialogflow CX integration:- Go to Settings → Integrations → Dialogflow CX
- Click Remove Dialogflow from workspace
Troubleshooting
| Symptom | Likely cause | Fix |
|---|---|---|
Test connection: Table not found | Sink hasn’t created the table yet | Send a message via the Test Agent simulator, wait 1-2 minutes |
Test connection: Permission denied | IAM bindings haven’t propagated, or wrong roles | Wait 30 seconds; verify bigquery.jobUser (project) and bigquery.dataViewer (dataset) |
Test connection: Invalid JSON | Service account JSON paste was incomplete | Paste the entire file, including the leading { and trailing } |
| Connect succeeds but 0 agents discovered | No logs in the table yet | Generate a few messages via the Test Agent simulator, wait, click Refresh agents |
| 0 interactions synced after enabling an agent | Logs exist but none are response logs yet | Send another message and wait. Response logs land within seconds of the request log |
model and tokens are always null on synced rows | Agent is classic-flow, not generative | Expected. Only generative (Playbook / Generator-driven) agents emit LLM telemetry. Classic flows produce intent-match and webhook traces only |
Sync fails with Quota exceeded or bytes billed exceeded | Backfill range is too wide for the dataset | Use Custom start date instead of All history |
| Costs higher than expected | Sink wasn’t created with --use-partitioned-tables | Recreate the sink with the flag set; existing rows in the unpartitioned table are scanned in full on every query |